
How to Use Natural Light for Better Instagram Photos
Why Window Direction and Time of Day Matter
Great photos start with great light, and the best light costs nothing. Natural light comes from the sun, and it changes all day long. It can make a face glow or a room look flat and dull. That’s why smart creators treat light as the main ingredient in every shot. A simple routine to use natural light in Instagram photos can lift your whole feed without any new gear. You don’t need a studio, a ring light, or a big budget. You only need a window, a little patience, and a basic sense of how light behaves. Once you learn a few simple rules, your pictures will look brighter, cleaner, and more professional. It’s an easy skill to learn, and it pays off fast.
What Natural Light Does for a Photo
Light shapes everything the camera sees. It sets the mood, shows detail, and gives skin and food a natural color. Soft light spreads gently across a subject, so shadows stay light and smooth. Hard light does the opposite. It creates sharp, dark shadows and bright, harsh spots. Neither type is wrong, but each one fits a different goal. Soft light suits portraits, flat lays, and cozy scenes. Hard light suits bold, high-contrast pictures. Because phone cameras handle bright and dark areas less well than the human eye, soft light usually gives the safest results. Also, natural light has a pleasant color that most indoor bulbs can’t match. As a result, your photos look more real and more inviting to viewers.
Why Free Light Beats Gear
Many new creators buy lights before they learn to see light. That’s a common mistake. A cheap lamp can’t fix a poor angle, and an expensive kit can’t fix a bad habit. Natural light teaches you how brightness, direction, and shadow work together. Once you grasp those ideas, any lighting tool becomes easier to use. Also, free light is always available during the day, so you can practice anywhere. Try taking the same photo at three different times, and compare the results. You’ll quickly see how much the light matters. This is the foundation of any habit of using natural light in Instagram photos, and it works for portraits, products, food, and travel alike. So start with the sun before you spend a dollar. Then add tools only when you truly need them. Most creators need very few.
Natural Light as the Cheapest Lighting Fix Available
If your photos look dull, grainy, or flat, light is usually the problem. The good news is that the fix is simple. Move closer to a window, and watch what happens. Your subject gets brighter right away, and your phone doesn’t need to boost its settings. That boost is what causes grainy, noisy images. Natural light also saves money, since you don’t buy bulbs, stands, or batteries. It saves time too, because you don’t set up anything. Many professional photographers still prefer window light for portraits and product shots. They know it flatters almost every subject. So before you shop for equipment, test what a sunny spot in your home can do for your pictures. You may be surprised.
Soft Light Versus Harsh Light
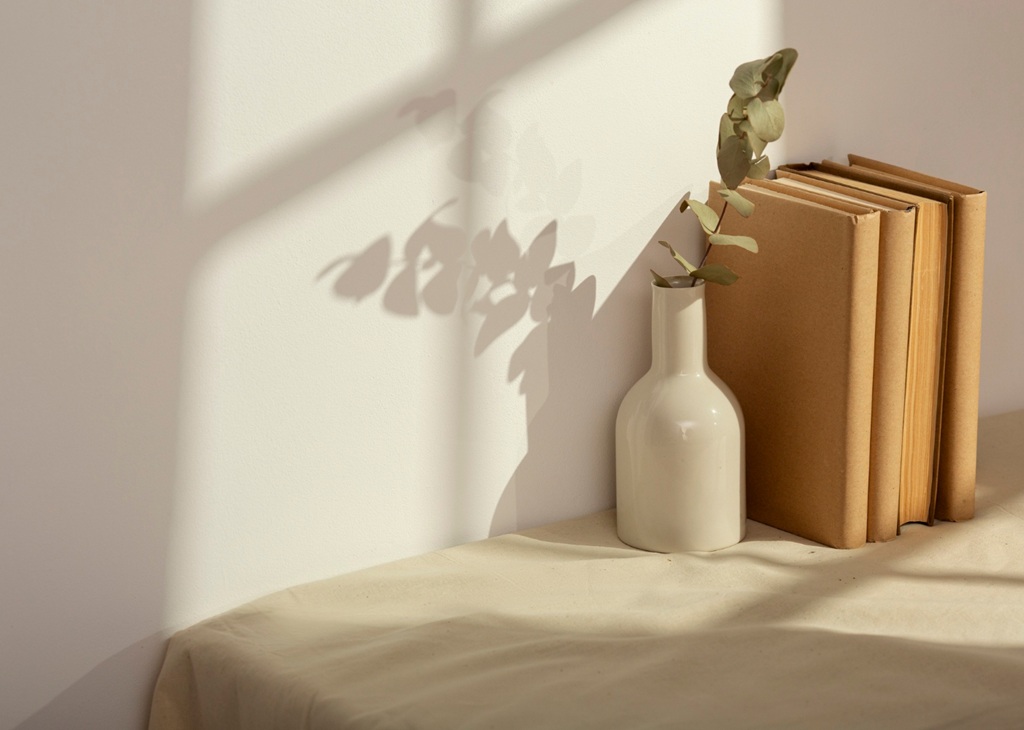
Learning to tell soft light from harsh light is your first big step. Look at the shadows on the wall. If their edges are blurry, the light is soft. If their edges are sharp and dark, the light is harsh. Overcast days give you the softest light of all, because clouds act like a giant diffuser. Bright midday sun gives you the harshest light, because it hits from straight above. In most cases, natural light in Instagram photos that is soft and indirect looks best. If you must shoot in strong sun, move into shade or turn your subject so the light hits from the side. Small changes like these make a big difference. Try them and compare the results. Then keep whichever look fits your style. Over time, you’ll trust your eye.
Golden Hour and Open Shade
Two special times give you great light almost every day. Golden hour happens in the first hour after sunrise and the last hour before sunset. The sun sits low, so the light looks warm, soft, and flattering. Everything seems to glow. Open shade is the other great option. It means standing just outside direct sun, such as under a tree or beside a building. The light there is even and gentle, and it keeps faces free from squinting and harsh shadows. Midday can still work, but it needs more care. Plan your most important photos for golden hour whenever you can. Meanwhile, use open shade for quick shots at lunchtime or on bright afternoons. Both options are free and easy. Neither one needs any setup.
Using Window Direction and Time of Day to Plan Shoots
Not every window gives the same light. The direction it faces and the hour you shoot change the look of every photo. That’s why a little planning pays off. Spend a day watching your home. Notice where the sun enters, how bright it gets, and when the glow fades. Take quick test photos in each room. Then pick your best spots and write them down. This small habit turns a random guess into a reliable plan. It also makes your setup to use natural light in Instagram photos easy to repeat, which keeps your feed looking steady. Once you know your best window and your best hour, you can shoot with confidence and finish faster, instead of hunting for a good spot every time. That saves energy, too. You’ll also feel less rushed.
North, South, East, and West Windows
In the Northern Hemisphere, each window has its own personality. North-facing windows give soft, steady light all day, which makes them a favorite for portraits and products. South-facing windows give bright light, but it can turn harsh around noon. East-facing windows fill a room with warm, gentle light in the morning, and then they fade. West-facing windows do the opposite. They stay dim until the afternoon, then pour in rich, golden light before sunset. If you live in the Southern Hemisphere, the north and south descriptions swap. Check your own windows with your phone’s compass. Then match each room to the type of photo it suits best, such as coffee flat lays by the east window or evening portraits by the west window. Each room can have its own job.
A Simple Daily Light Map
A light map is a short note that shows where good light appears and when. Draw a rough floor plan, or just write a list. Add the time each window gives its best light. For example, you might write that the kitchen is bright at nine and the bedroom glows at five. Check the map for a few days, because weather changes things. Then use it to plan your shoots, much like a schedule. A light map makes planning the use of any natural light in Instagram photos faster, because you already know where to stand. It also helps you batch your photos, so you can shoot several posts during one good hour instead of chasing light all week. Planning ahead is always easier than reacting. It also leads to better photos.
Simple Tools That Shape Light for Free
Once you find good light, you can bend it a little. You don’t need special equipment for this. Everyday items work well. A white sheet or sheer curtain softens strong sun and spreads it evenly. A white wall bounces light back into dark areas. Even a sheet of white poster board can fill shadows on a face or a plate of food. Turn off the overhead lamps in the room too, because indoor bulbs often add a yellow or green tint. That tint clashes with the cooler color of daylight. Mixed colors can make skin look strange and make food look unappetizing. So switch off the room lights, and let the window be the only source. The difference shows right away.
Why Reflectors Are the Cheapest Lighting Fix Available
A reflector is simply something light-colored that bounces light back onto your subject. White foam board costs only a few dollars at most craft stores, and a plain white poster board works nearly as well. Place it opposite the window, just out of the frame. It lifts dark shadows and makes faces look softer and fresher. For a warmer glow, try a piece of gold-toned cardboard or a folded sheet of foil. This small step upgrades the setup of any natural light in Instagram photos in seconds. You can also hold the board in one hand while you shoot, or ask a friend to help. Practice moving it closer and farther away, and watch how the shadows change. Small moves often give big results. Don’t be afraid to experiment.
Curtains, Walls, and Cardboard
Other household items can shape light, too. A sheer curtain acts like a soft box, since it spreads the light before it hits your subject. If you have no sheer curtain, tape thin white paper over part of the window. A light wall beside your subject bounces extra glow, while a dark wall deepens the shadows for a moodier look. Cardboard painted black can block unwanted light and add drama. Move your subject a few feet away from the window to soften the effect. Then try turning them slightly so the light hits one side of the face. You’ll find that every small change gives you a new style. Keep a notebook of what you like. Later, you can repeat the best setups.
Build a Repeatable Natural Light Routine
A routine saves time and removes guesswork. Start by choosing your best window and best hour from your light map. Then clean the area, clear the clutter, and set your background. Next, place your subject near the window, and turn off any room lights. Take a few test shots, and check the brightness on your screen. If the picture looks too dark, move closer to the window instead of raising the brightness later. If it looks too harsh, add a sheer curtain or step back. After that, take several photos from different angles, because the best shot often comes after the first few tries. This routine takes only a few minutes, yet it makes a big difference. Soon it will feel automatic. Then you can focus on creative ideas.
Check Window Direction and Time of Day Each Week
Light changes with the seasons, so your best spots will change too. In winter, the sun sits lower and shines deeper into your rooms. In summer, it climbs higher and gives stronger midday glare. Every few weeks, repeat your quick test photos and update your light map. This keeps your use of natural light in Instagram photos fresh and accurate. It also helps you notice new spots you hadn’t used before. Keep your notes simple, and add the date to each one. Over a year, you’ll build a clear picture of how light moves through your home. That knowledge becomes a lasting skill, and it helps you shoot well in any new place, whether you travel, rent a studio, or move to a new apartment. Good habits travel with you.
Make the Cheapest Lighting Fix Available a Habit
Finally, treat natural light as a daily habit, not a one-time trick. Look at the light each morning, and ask where your next photo should happen. When you see a beautiful moment, grab your phone and shoot it. Over time, your eye will improve, and you’ll spot good light everywhere. Keep your tools simple, and keep your routine light. Then review your photos each week, and note which ones got the most likes and saves. Use those clues to repeat what works. Great lighting doesn’t require money, only attention. So step toward the window, take a breath, and press the shutter. Your next post could be your brightest and best yet, and it will cost you nothing. Now go and find your light. Your followers will notice the change.
Contact VerifiedBlu to talk about how we can help you grow your Instagram followers organically and authentically.
