How to Hold Your Phone Steady for Instagram Video Without a Tripod
Why Simple Bracing Techniques That Work Matter
Shaky footage costs you viewers, and it happens fast. People scroll past a blurry clip in about a second. A steady Instagram video, on the other hand, feels calm and professional even when the subject is simple. You don’t need a tripod to get that look. You need a few habits, a little practice, and a basic idea of how your body moves. Most shake comes from small hand tremors and from weight shifting between your feet. Both problems are easy to fix once you know where they come from. This guide covers the methods that help in everyday situations, from a crowded street to a quiet kitchen. Think of this as a practical toolkit, not a list of rules, so you can pick what suits your style.
What Shake Does to Viewers
Viewers read shake as a signal of low effort. Even when the content is strong, a wobbly frame makes people doubt it. The shake also hides detail, so your product, your face, or your scene looks soft. Compression makes this worse because Instagram squeezes every upload. Fast motion in the frame turns into smeared blocks. A steady clip compresses cleanly and holds its sharpness. That matters for Reels, since viewers decide within seconds whether to keep watching. If your clip looks clean, they’re more likely to stay. Longer watch time then tells the platform that people enjoy your work. In practice, steadiness is a quiet way to earn more reach without any extra spending. Small gains here add up across dozens of posts, and your audience will notice the difference over time.
Tripods Aren’t Always an Option
Tripods are great, but they’re not always practical. You might be traveling light, shooting in a crowded café, or filming a moment that won’t repeat. A tripod also slows you down when you need to follow action. Many creators skip one for these reasons, and that’s fine. The goal is to get the same stability from what you already have. Your elbows, your core, a nearby wall, and your phone’s settings can all do the job. Once you learn a few of these tricks, you’ll reach for them without thinking. Then your hands stay free for the things that matter, such as framing, timing, and direction. Let’s start with the body, because it’s always with you. Quick methods like these are especially useful when you film Stories, where speed matters more than perfect setup.
Making Handheld Footage Look Intentional
Handheld footage doesn’t have to look careless. The difference lies in whether the movement feels chosen. A slow, deliberate drift reads as style. A random wobble reads as a mistake. So decide how you want the camera to move before you press record. If you want stillness, lock your body and keep the phone quiet. If you want motion, make it smooth and purposeful. Never mix the two in the same clip. Viewers accept either one, but they dislike confusion. Hold the phone with both hands, keep your thumbs close to the screen edges, and let your eyes lead the shot. This mindset shapes every technique that follows, so keep it in mind as you practice. Once that choice is clear, every other technique becomes easier to judge, because you know what a good result looks like.
Use Your Body as a Support
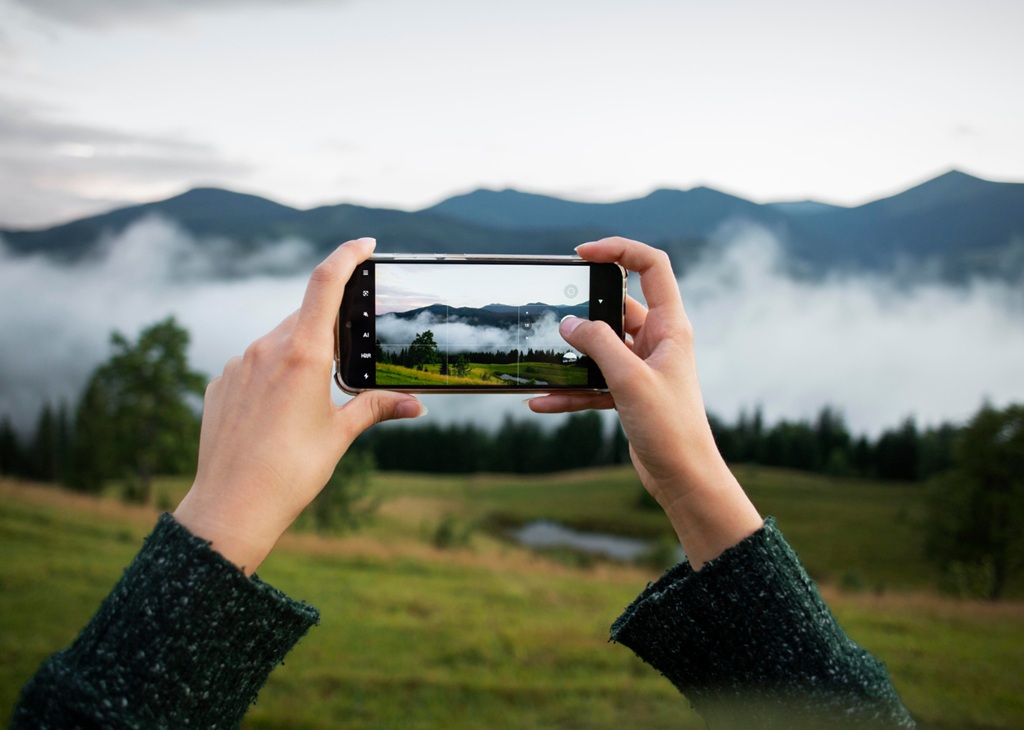
Start with your stance. Place your feet shoulder-width apart and bend your knees slightly. This lowers your center of gravity and absorbs small bumps. Next, pull both elbows tight against your ribs. Your torso becomes a brace, and your arms stop acting like loose antennas. Hold the phone with both hands, and rest your thumbs along the sides. Breathe out slowly just before you tap record, then keep your breath calm. A steady Instagram video begins with a calm body, so don’t rush the setup. If you need to move, walk with a heel-to-toe roll, like a slow stalk. Bend your knees and let them act as shock absorbers. Practice this stance for a few minutes, and it will soon feel as natural as standing in line.
Simple Bracing Techniques That Work Standing Up
Several simple bracing techniques work well while you stand. The first is the neck strap pull. Hang a lanyard or strap around your neck, attach the phone, and push forward until the cord is tight. The tension kills most small shakes. The second is the chest anchor. Press your forearms against your sternum and rest the phone against your hands. The third is the single-leg lean. Shift your weight onto one leg and lean the opposite shoulder into a fixed point. All three cost nothing and take seconds to learn. However, each one feels odd at first, so practice a few clips before you film something important. With a little repetition, these moves become automatic, and your clips will look smoother almost right away.
Brace Against Objects Around You
The world offers free tripods everywhere. Look for a surface that can hold your hands, your elbows, or the phone itself. Walls, door frames, railings, car roofs, and tables all work. Press your forearm or your palm firmly against the surface, then film from that anchor. Even a loose contact point cuts shake in half. This approach suits steady Instagram video in busy places, where you can’t set up gear. It also helps when you film low light scenes, since the camera uses slower shutter speeds there. Before you start, scan the area for something solid. Then step toward it and compose your shot around that support. Besides that, a solid anchor gives you confidence, and confident hands move far less than nervous ones.
Walls, Rails, and Tables
Each surface has its own best use. A wall works well for portrait shots at chest height. Lean your shoulder into it and tuck your elbows close. A railing is ideal for wide scenes, such as a skyline or a busy street. Rest both forearms on top and let your hands cradle the phone. A table suits close-ups of food, products, and crafts. Place your elbows on the surface, form a small triangle with your arms, and keep your wrists straight. You can also set the phone against a stack of books or a water bottle. If the phone tilts, slide a folded napkin under one edge to level it. Whatever you choose, test it for a few seconds first, because the right surface depends on your height.
Making Handheld Footage Look Intentional on the Go
Movement adds interest, but it needs a plan. When you walk and film, treat your arms like a gimbal. Keep them close, and let your knees do the moving. Choose a start point and an end point before you begin. Then glide toward the end point at an even pace. That way, the shot has a clear purpose. A short walk-and-talk clip can feel energetic instead of messy. Also try the follow shot, where you trail a friend at a steady distance. Both ideas keep the motion deliberate. For a steady Instagram video while you move, shoot shorter clips and trim the weakest second or two when you edit. Over time, these small moves build a recognizable style that viewers connect with your account. Practice them in familiar places before you try them at an event.
Settings and Gear That Reduce Shake
Your phone has tools that help, so use them. Turn on video stabilization in your camera settings. Most modern phones offer standard, cinematic, or enhanced modes. Standard mode gives a light correction, and it crops the frame slightly. Enhanced modes crop more but smooth more. Pick the level that fits your scene. Next, lock your exposure and focus by pressing and holding the screen. This stops the camera from hunting for focus mid-shot, which can look like a wobble. Also clean your lens with a soft cloth, because a smudge softens every frame. Finally, shoot at 30 or 60 frames per second. Higher rates feel smoother during motion. Over time, you’ll learn which mode suits each location, and your choices will become quicker and more confident.
Simple Bracing Techniques That Work With Cheap Gear
Low-cost gear can add real stability. A phone grip with a handle gives you a wider base for your fingers. A small clip-on stabilizer weight adds mass, and extra mass resists tremor. Wrist straps let you pinch the phone gently instead of squeezing it. A mini tabletop stand costs a few dollars and fits in a pocket. Even a rubber band around a water bottle can hold a phone. These budget options are worth keeping in your bag. They help you capture a steady Instagram video when no wall or railing is nearby. Test each item at home first. That way, you’ll know which one feels natural. Because gear is cheap, you can buy one item at a time and keep only what actually helps.
Camera Settings Worth Changing
A few settings deserve a second look. Switch off digital zoom, because it magnifies every tremor. Walk closer to the subject instead. Use the main lens rather than the ultra-wide or telephoto, since the main lens usually has the best stabilization. Turn on the grid lines so you can keep the horizon level. A tilted horizon makes small movements look worse. Record in the highest resolution your phone handles without lag. More detail gives you room to crop and stabilize later. If your phone overheats, pause and let it cool. Heat can trigger throttling, and throttling can cause dropped frames that look like stutter. Small changes like these take under a minute, yet they remove a surprising amount of shake from your clips.
Making Handheld Footage Look Intentional in Edits
Editing is your final chance to fix and shape the motion. Import the clip into your editing app or Instagram’s native video editing function and look at it closely. Trim the first second, because most shake appears when you press record. Cut the last second as well, since your hand moves when you tap stop. Then check the whole clip for any rough patch. If a section wobbles, cut around it or cover it with a close-up. A steady Instagram video usually comes from careful trimming as much as careful filming. Keep cuts tight and purposeful, and match them to the beat of your audio. Viewers forgive tiny flaws when the rhythm feels strong. Take your time here, because careful editing often rescues footage that felt disappointing on the day.
Smooth Edits With Stabilization
Most editing apps include a stabilization tool. Apply it lightly, because heavy stabilization can warp the edges. A small correction cleans up residual shake without a strange floating look. Add a slight zoom of two or three percent so the app has room to adjust. Slow motion also hides tremor, so slow a clip to 80 percent if it suits the mood. Add a subtle crop to hide any wobbly edges. Finally, export at the highest quality available. Instagram compresses your upload anyway, so a clean source file matters. Preview the finished Reel on your phone before you post, and watch it twice. Review the result on a full screen, since small flaws show up more clearly on a larger display.
Build a Daily Practice Routine
Steadiness is a skill, and skills improve with practice. Spend five minutes a day on a short drill. Film a ten-second clip of a coffee mug and try to keep the frame still. Compare it with yesterday’s clip. Next, try a slow walk down a hallway while you film a door at the end. Review each clip and note what worked. Over time, your body learns the stance and the grip. Soon you’ll brace without thinking, and your steady Instagram video skills will show in your Insights, where watch time and retention should climb. Start small, stay patient, and keep every clip you like as a reference. Share your best progress clips with friends, and ask them which ones feel the smoothest.
VerifiedBlu is a great resource for growing your Instagram followers organically and authentically. Contact us to talk about how we can help.